
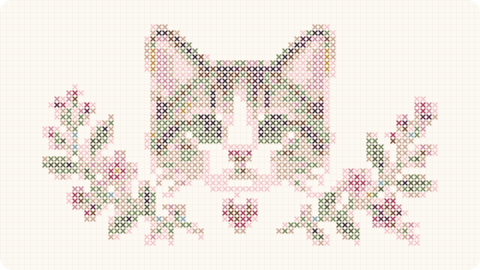
Raccoons have two features that make them especially effective in cross stitch: the dark mask around the eyes and the ringed tail. Even in a small chart, those signals make the animal easy to recognize and separate it from other woodland subjects.
That supports very different designs without losing identity: a naturalistic raccoon on a branch, a seated kawaii version holding a berry, a rounded nursery motif or a small forest scene with leaves and mushrooms.
The face mask should stay clear even at small sizes
Mini charts do not need full facial shading. A dark area around the eyes, a lighter muzzle and small ears can already create the expression.
Avoid letting black take over the whole face. If eyes, mask and outline merge into one shape, the features can disappear. Mid gray or cream between dark areas helps keep them separate.
Larger patterns can add forehead, cheek and muzzle shading, but the face should still read clearly before fur texture is introduced.
The ringed tail works as a graphic design element
The tail can add movement and balance. Curved around the body, it suits kawaii designs; extended behind the animal, it adds motion to a more natural scene.
Alternating dark and medium gray is often enough to suggest the rings. Many near-identical shades are unnecessary when the bands are clearly separated.
In small charts, an overly thin tail can disappear. Give it enough width for the rings to remain visible from normal viewing distance.
Woodland style works best when the raccoon stays central
Leaves, mushrooms, branches, acorns and flowers can establish the forest setting, but they do not all need to appear together. One branch and a few leaves may be enough.
To avoid repeating a generic woodland-animal concept, focus on raccoon-specific behavior: peeking from a hollow, holding a berry, walking along a branch or looking directly toward the viewer.
A palette of gray, cream, brown and forest green works naturally. One accent in red, mustard or terracotta can add personality without breaking the setting.
Kawaii raccoons need simplification, not only larger eyes
A kawaii raccoon often works with a slightly larger head, compact body, short legs and simple expression. The mask and ringed tail still need to remain visible so the animal does not become a generic gray cat.
Rounded shapes let you reduce the color count and create a quicker project. Three grays, cream and black may be enough.
A tiny object such as a mug, acorn, strawberry or mushroom can add narrative. Keep it secondary so the raccoon remains the focal point.
Nursery and personalization suit clean compositions
A seated raccoon beneath a name, beside a star or inside a partial wreath can work in a child’s room without requiring long phrases.
Soft gray, sage, beige and blue-gray usually age better than an extremely baby-specific palette. The piece can remain useful as the room decor changes.
If you include a name or date, reserve the text space before adding branches. Compact raccoon shapes fit square frames and small hoops particularly well.
Build a raccoon collection around pose and context
Vary the action: sitting, climbing, peeking, wrapping the tail around the body, frontal portrait or tiny motif. Changing behavior creates more variety than recoloring the same figure.
For bundles, share the grays and cream across every chart and change only greens, flowers or small secondary objects. That keeps supplies manageable and the collection visually connected.
Finishing can vary too. A frontal portrait suits a square frame, a branch scene needs a horizontal layout, and a small kawaii motif can become a hoop, ornament or magnet.
The strongest raccoon chart uses the animal’s defining features rather than turning it into another generic forest creature. When the mask reads clearly, the tail keeps its rings and the pose has personality, even a simple design remains instantly recognizable.
If you want a more naturalistic result, pay attention to fur direction and muzzle contrast. The whole body does not need a long list of grays; a few lighter areas on the cheeks and chest can define anatomy more effectively than many nearly identical shades. In night scenes, blue-gray can replace some black while preserving detail.
Fabric changes the effect too. On cream or oatmeal, mid grays feel softer; on dark gray, off-white or pale cream may be needed for the muzzle and highlights. Test neighboring shades before starting so the facial mask does not disappear into the background.
For a calm stitching experience, compare how much of the fur is made from isolated single stitches. A chart with larger grouped gray areas will usually stitch more smoothly than one that chases every tiny hair variation.
